Today I will be discussing how to make homemade chocolate ice cream. Why? Because I made some! There’s something incredibly satisfying about creating your own frozen treats right from the comfort of your own kitchen. So how do you make yummy, delicious homemade ice cream?
First, you will need to gather your ingredients. Let’s go searching for them, shall we?
1. Milk: You can use regular milk or powdered milk, depending on what you have on hand. Whole milk will give you a creamier texture, while skim milk will work just fine if you’re looking for something lighter.

2. Cream: Heavy whipping cream is ideal for that rich, creamy mouthfeel, but you can substitute it with any cream you prefer.
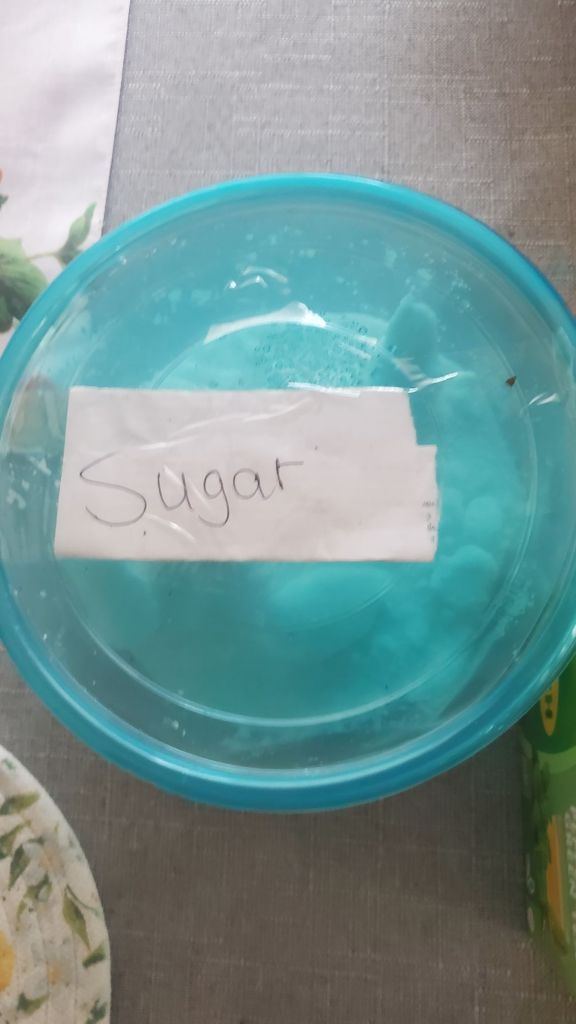
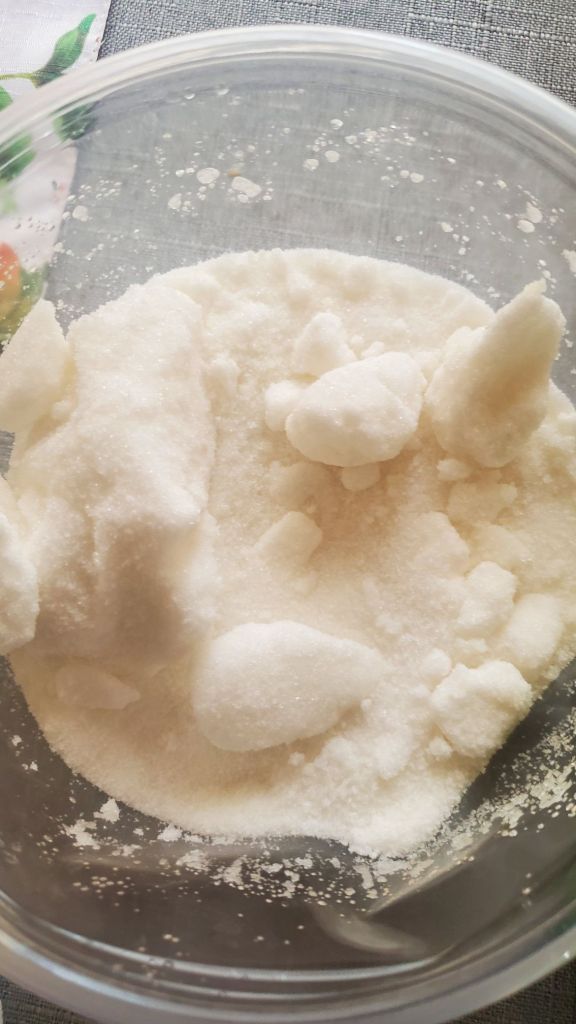
3. Sugar: Granulated sugar is the most commonly used sweetener. You can also explore alternatives like honey or agave syrup for a different flavor profile.
4. Flavorings: This is where you can get creative! Vanilla extract is a classic, but you can also use cocoa powder, fresh fruits, or even pureed coffee to give your ice cream a unique twist.

5. Add-ins: Think about what extras you’d like! Chunks of chocolate, pieces of fruit, or cookie dough can all elevate your homemade ice cream.
6. Salt if you want for the extra taste.
Now mixture time!!!
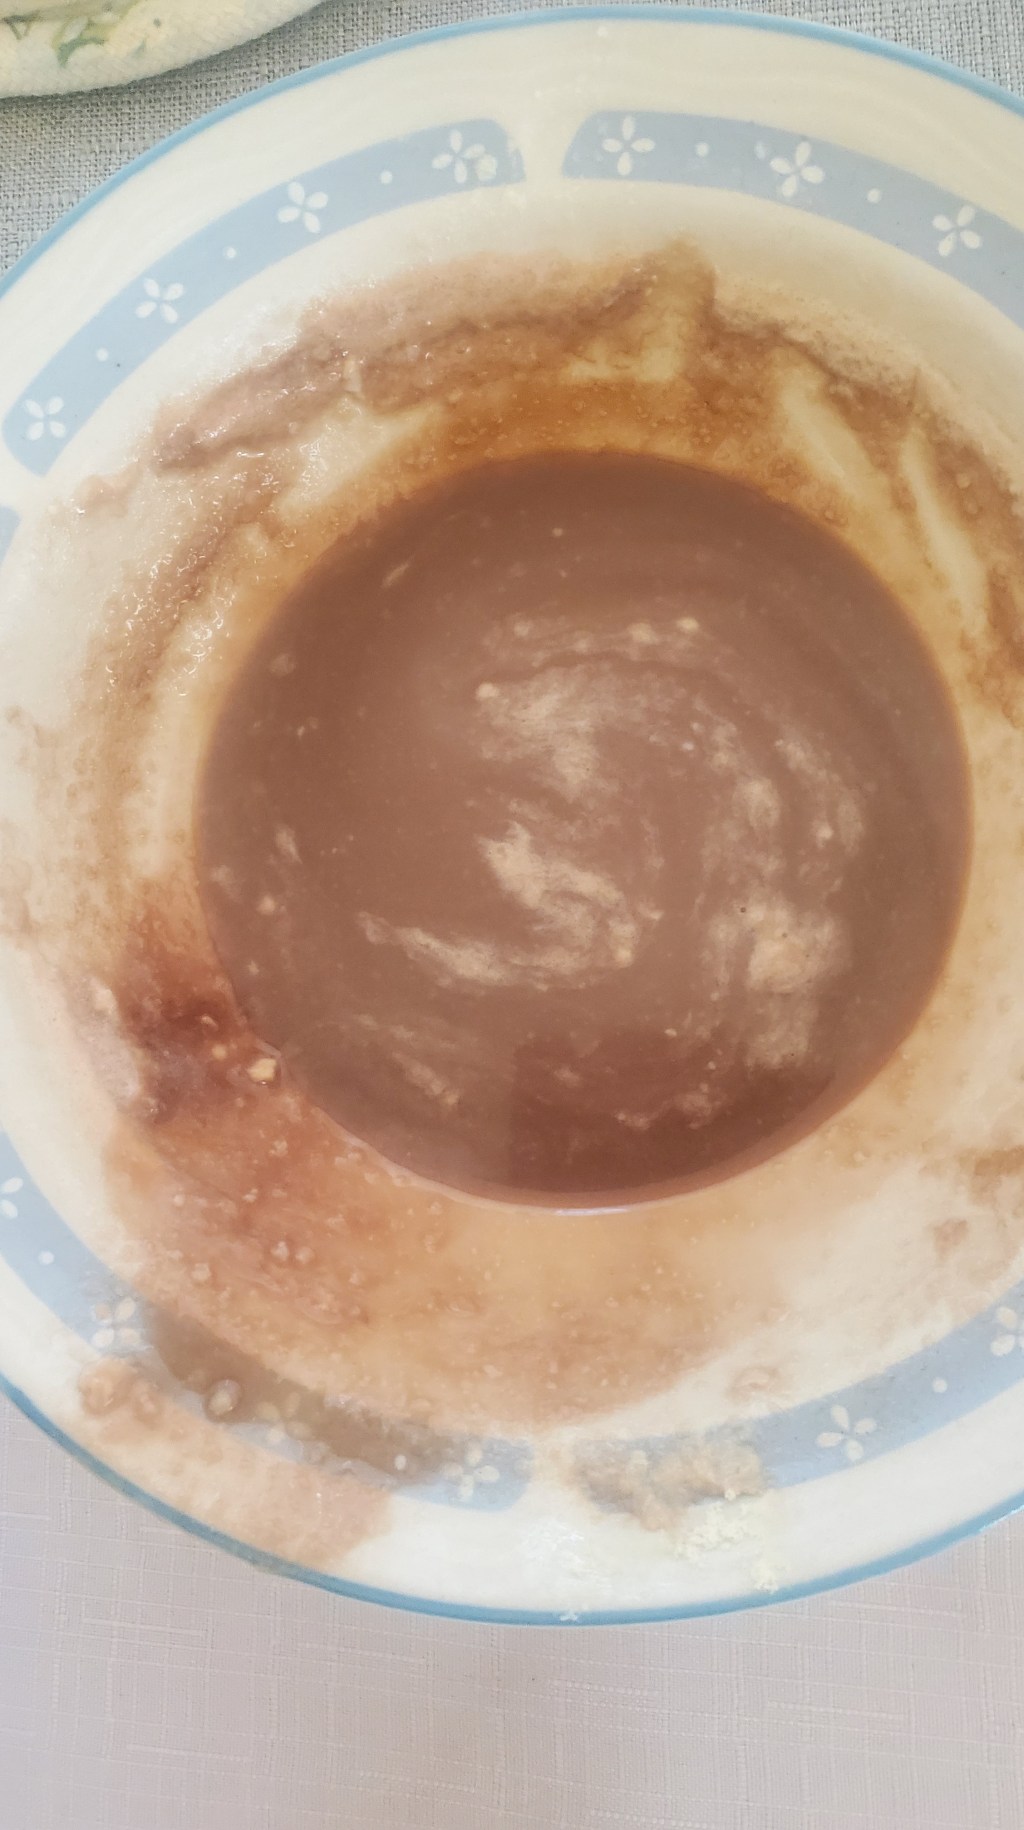
Grab a bowl from your cupboard or dish washer and a spoon. Make sure to wash them thoroughly before use to ensure cleanliness. After that, pour your heavy cream into the bowl, followed by your milk and sugar. These ingredients form the base of your ice cream, so measure them carefully. Now mix the ingredients with your spoon until everything is well combined and the sugar has dissolved.
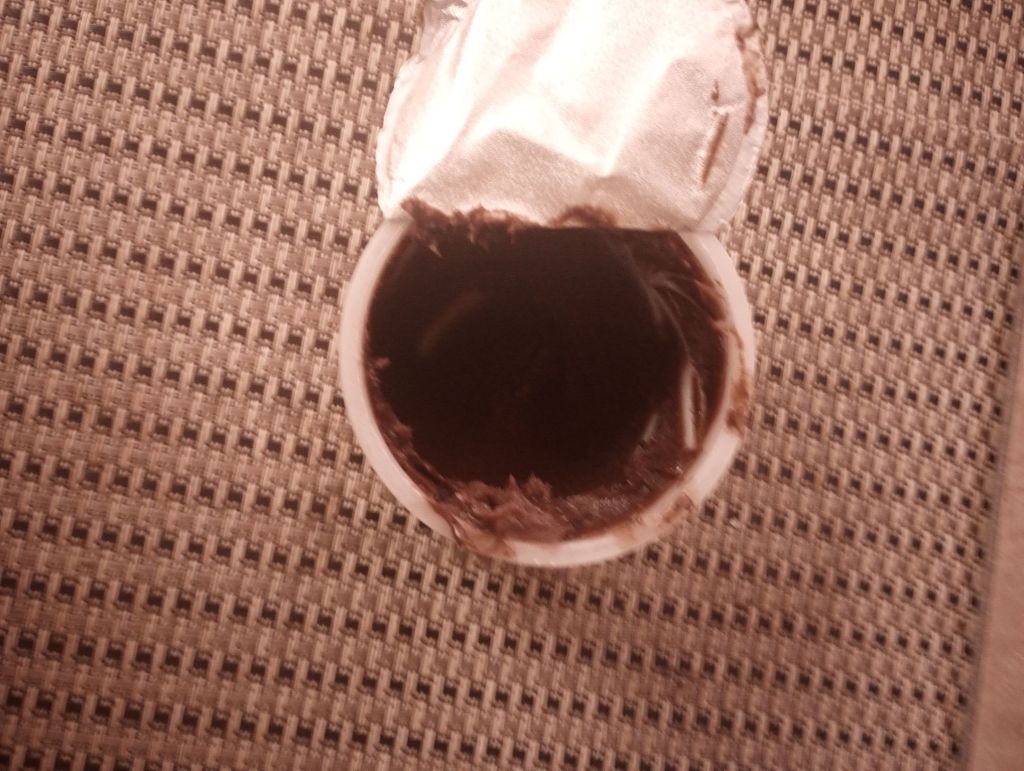
Next, add in your choice of chocolate or vanilla extract. This will add a wonderful flavor to your ice cream, so don’t skimp on it! Mix again to ensure the extract is evenly distributed throughout your mixture. If you like a hint of saltiness to balance out the sweetness, feel free to add in a pinch of salt at this stage. Mix once more to incorporate it completely.
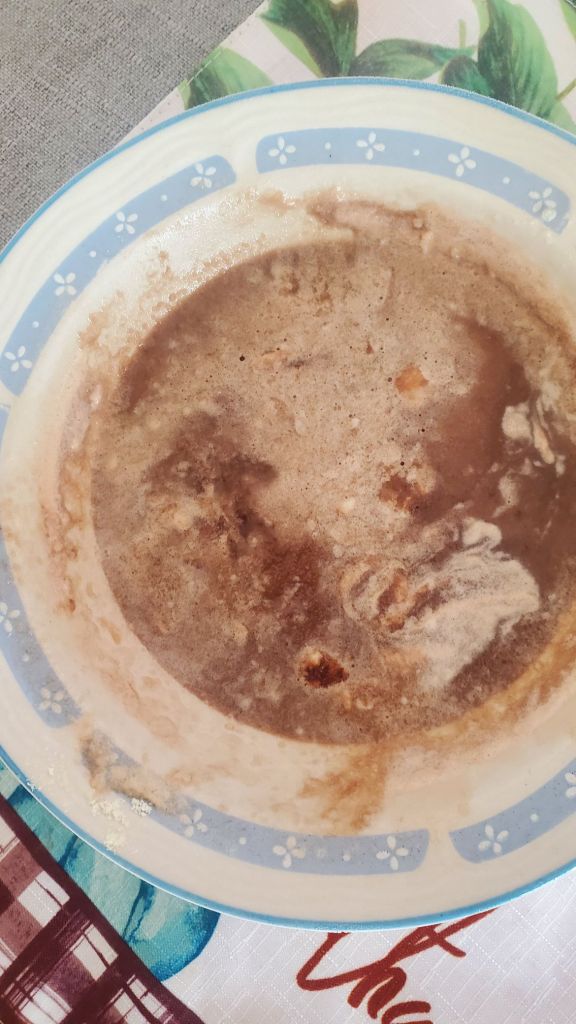
Now, take the whole mixture and place it into the microwave. This step helps smooth things out and ensures a silky texture in your final product. Microwave it for about 3 to 5 minutes, keeping an eye on it to prevent overflowing. Once the time is up, take it out and use a spoon or a blender to mix the whole thing again. I prefer to use a spoon as it gives me more control over the texture, but a blender can achieve a smoother consistency if that’s what you prefer.
Afterward, you can personalize your ice cream by adding in nuts, chocolate chips, or any other favorite mix-ins you might like. This is the perfect chance to get creative! Once you’ve added the extras, it’s time to place your delicious concoction in the freezer. Let it freeze for about 2 to 4 hours, depending on how firm you want it to be. During this time make sure to help your homemade ice cream along by placing the mixture in a freezer-safe container and stirring it every 30 minutes until it sets.
When the time is finally up and your homemade ice cream is ready, take it out and enjoy the delightful treat you’ve made! Whether you end up with a scoop of rich chocolate or creamy vanilla, the satisfaction of making your own ice cream from scratch is truly delightful. I made homemade chocolate ice cream, and it turned out wonderfully smooth and decadent. Enjoy!
Thanks for reading and have a splendor day. Good bye for now.

Leave a reply to Ajita Sharma Cancel reply